Social Icons

Showing posts with label Vegetable: Cowpea. Show all posts

July 3, 2013

More cowpea uses

This was a hint from my fellow gardener, Carol, who makes some delicious dishes out of green cowpeas. Usually, I cook young cowpea pods like green beans, or use dry cowpea beans in soups or salads (cooked, of course :))

Who would have thought that you can use green cowpeas like you would regular green shelled peas. You would want to pick the pods while they are still green, but "a little bit pregnant". You want to see these bumps on the sides of the pods:


Green cowpea pods


Then, simply shell them:

Shelled green cowpeas


I don't have tons of these to use right away, so I simply freeze the portions that I pick and shell. Afterwards, lightly steam the green cowpeas to the desired softness and use in salads or any other recipes that call for green peas.

February 16, 2013

Planting Vegetables in Wood Chips

I am trying something new. Instead of planting in soil, I am plating in wood chips. I did not plan it like that, it just sort of happened. I had a new set of raised beds built, but did not have soil for them. Then, after some research, I found that the beds can be filled with free wood chips that the power company delivers. The plan was thus born. I had a huge pile of wood chips delivered to my front yard, and there I went. Loading wheel barrows of chips and loading my new raised beds.


The wood chips themselves are not just pieces of wood, there are also chopped up small green twigs and even some palm leaves. That is a good mixture, although a bit poor on nitrogen (green matter), but still not totally devoid of this important nutrient.

Next thing I did was to seed some legumes. I am preparing this bed for the Spring planting of tomatoes, peppers, and eggplant. So the fast maturing legumes will serve as a cover crop. I planted the whole bed of black beans, just sprinkled with soil on the top of the seeds. Here they are starting to sprout:


And the rest of the beds I planted with cowpeas with the intention of tilling them in. I left a portion of the bed completely with no soil, as my test bed. Looks like cowpeas do not care if they don't have the soil. They are sprouting just as nicely:


I have cardboard on the bottom of these beds. Once cardboard rots it will allow the roots of my vegetables to penetrate even deeper into the soil below, under the decomposed wood chips. I do expect this whole concoction to pack down very heavily, but then I can always call the power company and have another load of wood chips to be delivered and added to these beds. 

I am very hopeful of this growing method, and in fact if this goes well, my next plan is to raise all my existing beds and add piles of wood chips to them.

July 28, 2011

Cowpeas as a cover crop and green manure

What a versatile vegetable! Not only it is insanely productive, not bothered by pests and requires little attention, it also provides fertilizer for the garden even after it stops producing. The idea of a cover crop is to grow nutrient-rich plant, such as legumes, and plow it under to improve soil fertility. A cowepea in Florida is just that plant. We can plant cowpeas from March to September and dig them in even after we harvest the crop. Ideal time for digging cowpeas in as a green manure is when they are still young, have lush green leaves and their stems are not too thick, like this:


Granted, if you plow cowpeas under at this stage you will forgo most of the crop. If you need to improve soil fertility in a hurry, then this method is acceptable, after all a pound of cowpeas at a grocery store is only $1.69 or even cheaper. But in the event that you want to have a harvest and utilize cover crop quality of cowpeas, the more mature stage of this vegetable is still acceptable. Below is a picture of a cowpea patch that I kept harvesting until the plants are mostly dry:


In this situation you will just have to chop them smaller, for the stems - about three to four inch long, if you have patience.


Then just dig the stems and leaves into the ground. It will help if your shovel is sharp because you might have to break stubborn stems with it:


Keep the soil moist, water it if there is no rain. It might also help to cover the soil with newspapers or cardboard to keep it moist. This cover crop should decompose in about a month, just in time to transplant tomatoes into the ground.

July 24, 2011

When to harvest cowpeas and okra?

My readers asked, when do you pick okra and cowpeas? "When they are ready", seems to be an obvious answer, but it is not always that simple, especially if you grow these vegetables for the first time. Okra and cowpeas mature very fast once they start producing. If you miss just a couple of days of picking, it is very easy to let the harvest run away from you. This okra pod is almost twelve inches long and is not dark green color anymore, so it is too late to pick this one:


Usually it is advised to pick okra when it is three to four inches long. But what if you missed that stage? I have my own test for okra: squeeze it between your fingers, and if it feels soft and easy to squeeze, as well as moist to the touch, then you can still pick it. I missed two days of picking and now have okra over six inches long, but it is still edible. Here's what a pound of okra looks like:


This overgrown okra will make a fine roasted okra dinner. The "non-pickable" okra should be left on the plant to mature and go to seed. Did you know you can make coffee out of okra seeds? Just roast them on a non-greased pan and grind in a coffee grinder. Then brew like regular coffee, it tastes almost the same, but probably does not have caffeine.

Cowpeas, as I learned, are best picked when they start showing "bumps", but are still dark green in color:


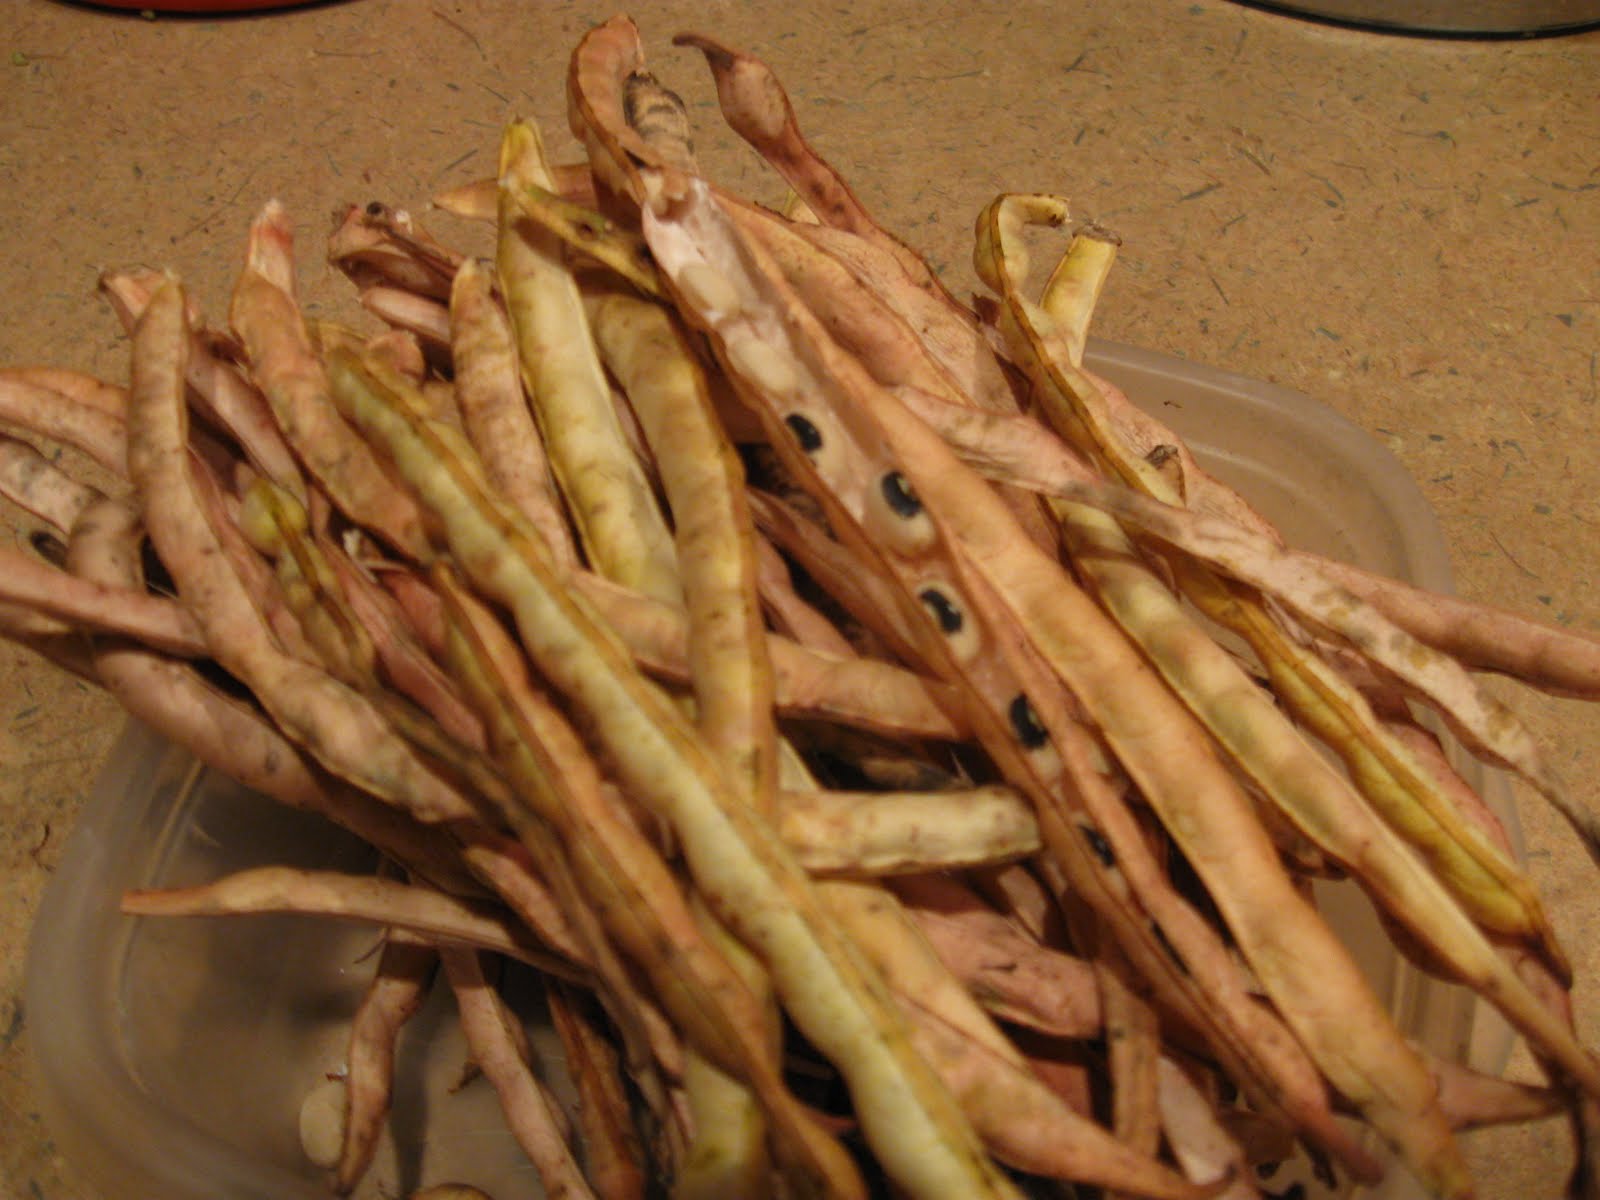
It is easy to miss some cowpea pods as they like to hide under the leaves. But no worry! Let them mature on the vine and you will have dry cowpeas for cooking or the seeds for the next season. Yellowish cowpeas can be picked when they are dry or almost dry and then threshed to get their seeds:


July 11, 2011

When to plant cowpeas?

Right now! In Florida, zone 9, we can plant cowpeas from mid-March to mid-September. Southern and Northern Florida gardeners will have to adjust their schedules accordingly.

Cowpeas are excellent source of green beans as well as a cover crop, the plant that can be dug in or tilled into the ground to make "green manure". They are also invaluable as a crop rotation plant, especially to be a successor plant after tomatoes or peppers. I just pulled some tomato plants that finished producing, dug in the mulch that was around the plants and raked the soil to make the bed level and fine:


I usually plant my cowpeas straight from the grocery store bag, but I saw these seeds at Lowes, purple hull variety, and decided to give them a try because they look so pretty.

Make indentation rows in the soil using the rake, something like six inches apart. If there was no rain, sprinkle some water over the bed to thoroughly wet the ground.  Then place seeds into the rows three inches from each other:


Using the same rake, cover the seeds with soil and you are done!


Cowpeas do not need support because they will grab on each other. I put a bamboo stake in the middle of the bed just to mark cowpea variety, otherwise I would not even bother. Keep them watered every day until they come up, and then every day, again (if there is no rain) until they are about a foot tall. After that they will shade the ground well enough to need watering once a week if there is no rain. 


Cowpeas grow very fast; pictured above are grocery store cowpeas seeded just five days ago.

I planted an approximately three by four feet section of the bed and it took the whole package of cowpeas (28 grams). But I expect at least five pounds of green beans from that planting, as well as some seeds for the future plantings. Cowpeas are very productive, plant some now.

June 20, 2011

Time to harvest cowpeas

It is June and cowpeas have been growing nicely. I use cowpeas as you would use any green been in my cooking. To harvest, I use scissors and cut off at the end of the bean itself. This way the plant is not damaged by pulling as well as it makes it easier to cut off the ends when preparing for cooking or freezing later:


One end is already cut so my future work will be reduced in half.


Sometimes you will see large red ants on the cowpea plants and also aphids on the beans. The ants are easy to get rid of, just shake them off the plant and they will fall onto the ground. Aphids are easily washed off with the garden hose or other means. Ants herd aphids on cowpeas and other plants, such as sunflowers. They are not harmful and do not do much damage to the plants or the crop.

Aphids on the cowpea bean

This amount of cowpea beans was harvested from a small four by four feet area in the garden. You can keep picking cowpea beans for about a month. After most of the green beans are harvested, leave a few on the vines to mature and dry; this way you will have your own seeds next season. Dry cowpeas can be used just as any other dry bean in your cooking, except they don't need to be soaked or cooked for as long as the other beans.


Now that one end of cowpea beans was cut off while harvesting, it is easy to process them for cooking or storing. I don't blanch cowpeas before freezing because they will not discolorate anyway and blanching involves additional steps that are not necessary before freezing cowpeas.

June 14, 2011

Growing cow peas or cowpeas or black eyed peas

As the name of this vegetable can be spelled in many different ways, as it is that useful to the gardener. Usually Florida gardeners are wondering what can they start in the summer. Regular beans do not do very well in the heat and humidity of our summers, but cowpeas do not care! I usually seed them throughout the whole summer, starting in May and finishing in August. I always have cow peas in different stages of development growing in my garden. I plant them in piles as I do everything else, whenever I have a free spot after pulling some plant that was done fruiting.

At any given time I have cowpeas that are dry and ready to be harvested as a dry bean:


Some others are fruiting or starting to fruit, and can be used as green bean:


And yet others are just starting to come up:


When I first started I just used the dry cow peas from a grocery store bag. Now I have my own seeds. Cowpeas produce in abundance. Usually, when I am done gathering them as a green bean, I leave a few pods on the plant to save as a dry bean. The yield of dry bean done this way is somewhere between twenty and forty seeds per plant.
 

Florida Gardening

Florida Gardening Blog

Visitors from all over the world

Grow Your Own Food

Grow your own food, be independent, healthy and happy.