Social Icons

Showing posts with label Garden Calendar: September. Show all posts

September 12, 2012

Harvesting Sweet Potatoes

The time to clean and prepare the beds for the cool season planting is here. But there are other things still growing in the garden, our summer favorites - sweet potatoes, okra, and cow peas. So it is time to start harvesting sweet potatoes. The harvesting process in itself is fairly simple, just pull the vines (and oh, yes, they can be very long), and then feel the ground with your hands for the tubers. Alternately, you can use a shovel to just turn the soil, but I prefer to use my hands (with the disposable gloves to protect from ant bites). Sweet potatoes do not normally sit deep in the ground, and often you can even see the tip of the potato above the ground. Finally, even if some potatoes are missed and overwinter, the better. I have so many volunteer potatoes in my garden that I don't even plant the slips anymore and always have plenty of sweet potato to harvest; once you have them, you will always have them.


This bowl of potatoes was harvested just from one partial bed, I would say 4 feet by 10 feet, all volunteers. Free food, what can be better! Now I am facing the task of preserving the harvest.

Depending on the amount of sweet potatoes you harvest, no preservation could be needed at all. If you only have a few pounds, then just brush off the dirt, lay them on a cardboard in the sun for a few hours to harden, and you can store them in the pantry. Usually, that's all I do with the harvest.

On the other hand, if you have a large harvest, then it probably would not fit into a regular pantry. Authoritative sources, such as University of Florida, advise to store sweet potatoes in "cool storage" - between 55 to 65 degrees. Well, that's great, but we don't exactly have root cellars in Florida, and the average house garage is far from being "cool" storage, even in the winter. Indigenous people throughout the ages stored sweet potatoes either in sand, or in ash, or in hay. These methods would work even in a hot garage or other storage, but the potatoes themselves should be absolutely perfect, with no nicks or damage; otherwise they will certainly start to rot, and infect their neighbors in the storage bins.

This year I decided to can my sweet potato harvest, and here's why: canning is a sure way to preserve these root vegetables with little risk of spoilage, and the subsequent cooking is practically non-existent, just heat up and eat. I don't care for "sweet" sweet potatoes, such as pies, but like them in a way of home fries with salt and cayenne. Canned sweet potatoes can be perfect for either scenario.

So, to can sweet potatoes all you need is a pressure canner (I have a cheapo Presto from WalMart), some canning jars and other paraphernalia related to canning. All that can be easily obtained from WalMart or Tractor Supply.

Peel and slice sweet potatoes in about 1/2 to 1/4 inch slices, and put in water. They would turn dark immediately if left in the open air that oxidizes them. As you can see, the water in this basin is quite murky, that's because sweet potatoes have a lot of starch in them:


Once all potatoes are cut up, sterilize canning jars (I use quarts) and stuff raw potato slices into the jars. This is called "raw packing". Shake the jars as you stuff the potatoes to minimize dead space. Add a tea spoon of coarse salt (a preservative), and fill with boiling water. Then, can at 10 pounds pressure for about an hour to an hour and a half.


Pressure canned like that, the potatoes can store for a long time at room temperature, and used whenever you have a hankering for some Thanksgiving-tasting side dish.

You might also be interested in:

Grow sweet potatoes from store bought
Vegetable yields per plant

September 30, 2011

Three sisters garden update

I was going to wait until the corn gets established enough for the beans to climb over it's stalks, but the corn is not exactly going gangbusters. I need to get beans and squash into the ground because we only have two solid months until the possible first frost date. So, I decided to cheat a little, and added bamboo posts to support the beans.


Now, even if the corn fails I would still have the beans and the squash, which will make it a two sisters, but I am hoping for the best. I planted six bean seeds around each stake.


Also planted two squash seeds per each diagonal corner of the three sisters garden. If both come up, I will leave the stronger one and snip the smaller one. We will see what develops.

September 24, 2011

Replanting Lettuce and Kale into the ground

I have seeded romaine lettuce and kale in containers about two weeks ago to get an early start. Now these seedlings are grown enough to be replanted into the garden.

This late in September you can seed all greens, including lettuce, kale, bok choy, mustard greens and collard greens, directly into the garden beds. But if you started some in containers, here's some tips on replanting them.


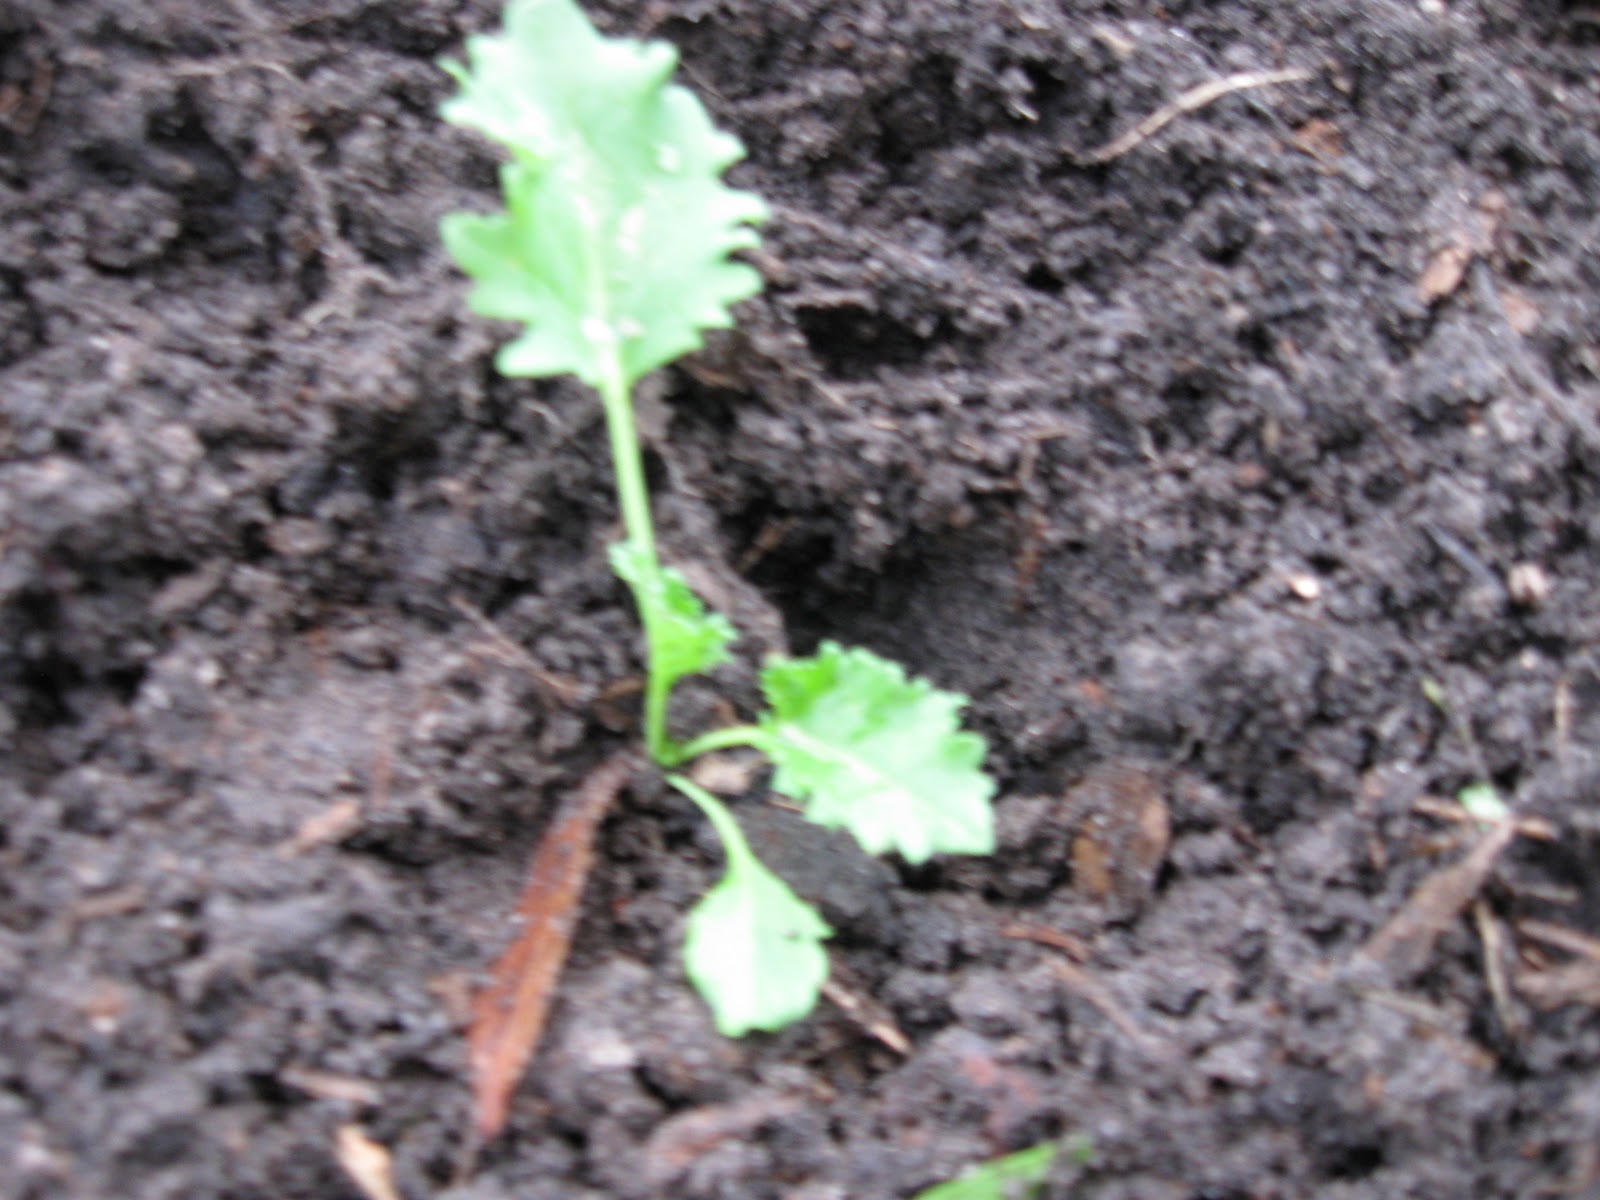
Prepare the bed by digging in remaining mulch and compost and raking the surface to smooth. Dig a hole deep enough to bury the whole plant so that only a few leaves are above the surface. This is very important. By no means replant the seedlings so that the stem is sticking above the ground. These young roots are not strong enough to support the weight of the plant, so you will end up with an undeveloped weak plant. The amount of space occupied by the roots shoud roughly equal the amount of space occupied by the leaves. If you plant too shallow, the top of the plant will be heavier than roots and will stunt the growth.


If in doubt, error on the side of planting deeper. Don't worry, the plant will grow a new healthy stem. Just bury up to the leaves. To take the plant out of the container, put the stem between your index and middle finger and turn the container upside down, then gently lower the plant with the soil that was in the container into the hole.


Lettuce spacing is about eight inches on center:


Kale spacing for the dwarf curly kale that I planted is about a foot. But if you are growing a regular, not dwarf variety, then spacing should be about 18 inches on center, just like broccoli.


Just like with any other transplants, water right after transplanting if the soil is not wet and keep watering to keep moist until established. Right now we are experiencing daily rains, so watering can be eased.

If you are seeding directly into the garden, mind the spacing requirements, and also plant two seeds per hole to limit bald spots. Even if both seeds germinate, you can snip the weaker one with scissors and use in your salad.

September 17, 2011

How to replant lettuce

It is September, and we can start seeding and planting lettuce. Granted, in Central Florida the days are still very hot and young lettuce seedlings might not survive the heat and harshness of the soil. I am a big advocate of seeding in nursery containers and then replanting into the 16-oz styrofoam cups instead of seeding into the ground. The obvious exceptions would be radish, beets, carrots, beans and peas. In other words, vegetables that would take too much work seeding and replanting, as they are pretty resilient as is.

In Central Florida the optimum time to seed lettuce is the beginning of October, but I wanted to get an early start, so I seeded in nursery containers, namely some blue styrofoam trays that they sell mushrooms in. Once lettuce is sprouted and is starting to show first true leaves, it is time to replant it. The process is quite easy. Get yourself a table spoon and some bowl where the seedlings will be held while being replanted. With a table spoon pick up a portion of the seedling mess from the bottom and reposition into the bowl:


Sprinkle some soil into the indentation to keep the remaining roots moist and covered.


Be careful with the young seedlings. Separate them from each other by gently crumbling the soil that contains multiple seedlings. The point here is to separate the seedlings, not yank them. Their roots are very gentle, so be careful. I have to mention though that lettuce plans are quite resilient. Not saying that you can be rough on them, but you don't have to be scared either. As long as you don't break the stem and don't yank the plant from the root base, the plant will survive and do quite well.

Now, get yourself some 16-oz styrofoam cups, break drainage holes on the bottom, and fill them about half way with potting mix:


Gently separate one seedling from the bunch, lower it into the container holding by the leaves, not the stem, and fill with the dirt up to the leaves:


Finally, place containers into a bowl filled with water so that the cups suck up the water from the bottom instead of being watered overhead, which can lead to having some dry pockets. I would not be offended though if you sprinkled some water on top of the plant to speed up the process.


And this is it, my friends. Now put these cups under the tree or other source of dappled shade and you don't have to worry about replanting them into the ground until you have time. These plants can stay in the cups until they are four to six inches tall with no problem.

September 12, 2011

Update on September Garden

Most of warm season vegetables should be in the ground now. These are tomatoes, peppers and eggplant.


Eggplant and Peppers
  
Tomatoes
   Cucumbers and squash can be still seeded if they are of the early variety, no more than 60 days maturity dates.
Cucumbers

Young squash
Squash is ready to be transplanted.

September 8, 2011

Three sisters garden project

This year I want to try out the "three sisters garden". This type of garden combines corn, pole beans and squash in the same area. The tale is that native Indians grew these vegetables together because corn provided support for the beans, beans provided nitrogen for the corn and squash, and squash provided shade and moisture for the corn and beans.

For this project I have selected Golden Bantam corn, Kentucky Wonder beans and Grey Zucchini Squash, not for any particular reason, but because I had the seeds. The only requirement, in my mind, is that beans have to be pole beans, not bush beans, otherwise there is no reason to plant them together with corn, as bush beans do not need support.


First, you need to seed corn. It needs at least some time to get established before beans choke the stems. So, seed the corn into the garden or in containers (I do) and then replant into the garden. Right now is the prime time to seed corn. Let corn grow to about six to twelve inches tall before planting the beans.


At this point we are done, waiting for the corn to establish a little bit before seeding beans and squash.

The layout and spacing of three sisters garden is something like this:

In a four-foot square, plant four corn plants in the middle, a foot apart. After they get to about eight inches tall, plant six beans around each corn stalk. Then, plant three squash plants in a circle around corn and beans. This plan provides for a space-saving productive garden, at least in theory. I will keep you posted on the progress of three sisters garden.

September 6, 2011

What can we grow in September in Florida

September is a very fruitful month. We can still plant and seed warm season vegetables as well as start cool season vegetables from seed. The only thing you might be careful about is maturity dates on the seed packets. We only have about three months, usually not much longer after Thanksgiving, to a potential first frost. So, from that perspective, the maturity dates for the warm season vegetables should be no longer than 60 days.

Tomatoes, peppers and eggplant should be in the ground now. It is too late to seed them now unless you are planning to grow them in a greenhouse. If you don't have any transplants, get them at the store and transplant now.

We can, however, start some warm season vegetables from seed even now. These include corn, beans, squash and cucumbers. But again, remember, the varieties have to be the early ones.


Squash and cucumbers are usually advised to be seeded directly into the garden. I however, prefer controlled germination, in styrofoam cups, only because I know for sure which ones came up and also can keep their germinating condition closer to ideal, as in keeping them moist. When seeding cucumbers and squash, mind the depth. They should be only barely covered with soil, but the soil should be kept moist all the time. Replant them as soon as first leaves emerge and establish.


As far as the cool season crop, we have plenty of choices. All greens, including lettuce, mustard greens, collards, kale and bok choy can be seeded now. Again, it is up to you whether you seed directly into the ground or in containers first. If you seed into the ground, you will have to water that ground every day so that the soil keeps moist. That is the reason I seed in containers and then replant: I do not have an opportunity to baby the seeds because of work.


By all means seed all lettuce varieties now. Below is a picture of my own romaine lettuce seeds. It looks like a hairy mess, but really extra stems and other stuff is not a problem. It was not worth it to spend time cleaning the seeds to the commercial quality of presentation. The only trick with germinating your own lettuce seeds is to keep them in a refrigerator for at least a few weeks, so as to fool them into thinking that winter is over.


You can also seed all brassicas -  cabbage, brussels sprouts and bok choy, as well as broccoli, carrots and beets.


I really like September. I can dabble in the garden in the evenings when it's not as hot anymore but still light, after work. I usually do garden work for an hour almost every day. Believe it or not you can accomplish a lot of things in just one hour. 

July 16, 2011

Planting black beans from the grocery store


This year I tried planting some black beans from the grocery store. Beans are usually planted in March and September and seed to harvest time is around two to three months. Spacing for the beans is three to four inches, and if you plant in a "square foot" method fashion, then there is no spacing for the rows. I planted approximately sixteen square feet of black beans just to try them out. They were not pre-soaked, I planted them dry. Depth of planting is about an inch. Here's these black beans two months after seeding:


Black beans from the grocery store, as probably any other commercially grown beans are bush beans and they do not need support, they vine on each other. They do send out vines outside of the boundaries of their bed, but that is easily fixed, just direct the vines back on to the other plants.

Black beans have some pretty purple flowers:


And they are loaded with bean pods. I have to admit that they are not as tasty as green bean varieties if you try to cook them as a grean bean, but I grew them for the purpose of dry hulling and having organic black beans.


Some pods are getting ready to be harvested:


These beans are very heat tolerant. Instead of planting them in a suggested time frame of February-April I planted them in mid-May. They tolerated heat and humidity pretty well. A robust bean, thumbs up!

Related posts:


Florida Gardening

Florida Gardening Blog

Visitors from all over the world

Grow Your Own Food

Grow your own food, be independent, healthy and happy.