In my never-ending quest to grow tomatoes year-round in Florida I have embarked on trying them out in our excruciating summer heat. We know that there are two problems with growing tomatoes in Florida summer months: the sun kills the plants, and what it does not kill, the heat and humidity finishes the job by preventing pollinating. Usually, we have the last of our crop in June and then park our garden tools till September.
But this year I decided to experiment and seeded a few grape tomatoes sometime in late May. The seeds germinated and little plantings were replanted into the 16oz styrofoam cups and were kept under the tree in the shade until they were ready to go into the soil.
Now the problem here is that my whole garden is in the sun, there is practically no place where these young tomatoes could have had any relief from the heat and sun rays. I know that the secret to growing tomatoes in Florida summer is to keep them protected from the damaging sun. So, I figured, I will grow them in containers, in one place where I have some shade, by the fence that borders the woods. In fact, this is a very favorable environment because not only the plants would have shade for the most part of the day, but there is also some air movement, which tomatoes love as well.
Here's a picture of the fence and the woods behind it, just to get a perspective:
If I were to set the containers next to the house, even in complete shade, it would not work because tomatoes like a little breeze, but next to the house it would be still air, in addition to the heat emanating from the concrete walls. So this setup next to the trees was ideal.
Lo and behold in my adventure the plants are doing pretty good and are already flowering:
Granted, the humidity now is awful and left alone, the flowers probably would not pollinate. You need to emulate the bee - every morning before it gets too hot, shake the stem with the flowers at about the same frequency as a buzzing bee, not very long, maybe 10-20 shakes, if I can say that. This will loosen the pollen, and a little baby tomato will start forming. And no, we don't need real bees to pollinate the tomatoes in Florida heat; tomatoes are self-pollinating, meaning they don't have male and female flowers.
So, if you have a corner on your property where it gets a little breeze and shade for the most part of the day, go ahead, and try a few tomato plants even now. I would suggest growing them in containers so they don't get too soggy from all these rains, plus you can control container placement better than a stationary bed. Growing tomatoes in Florida summers is challenging but worth a try. I would suggest growing only cherry or grape varieties as they are not very demanding of the sunlight.
July 21, 2012
Growing Tomatoes in Florida Heat
July 15, 2012
Raised Garden Beds
Woo hoo! It's been a whole month away from my blog, and I feel pretty ashamed of myself. But, to my excuse, we cannot do that much in the summer in Florida, other than waiting for the cool weather to come back so that we can start planting our veggies. But I do have an exciting project to share with you - a plan how to build raised garden beds on the cheap!
My mother moved to a new place and was eager to start a garden. The problem with her property is that it looks like it's located on the beach, there is nothing but white sand, and what's worse, there is no suitable vegetation to build compost from. So, we had to make a raised garden bed for her.
Being a senior citizen on a budget, she only had so much money to spend on that venture, so we had to be creative. After reviewing a multitude of options, mostly comparing by longevity and cost, we settled on a plan that involved landscape timbers. Granted, these are treated, but because in today's day and age that treatment is not as deadly as it was two decades ago, we decided that it was OK to use these, besides, there is only a small surface of dirt that would be immediately contacting the treated part.
She wanted a large garden bed, so we purchased fifteen (15) landscape timbers, 8 foot length each. Stacked three timbers high, these gave her a nine (9) inch of height and four by sixteen (4x16) perimeter. The timbers are held together with eight inch stakes that look like huge nails. They have them next to the timbers at Lowes or Home Depot. Here's a close-up of the raised garden bed structure:
To fill this mass of a garden she would need a lot of soil. But, she has a few oak trees on the property, and a lot of fallen leaves. She raked them up and fill the bed half way up with these leaves. The, we called around and found a place that delivered top soil. She filled the rest of the bed with top soil, humping over the top of the bed because the leaves will decompose and settle pretty quickly, and she did not want to end up with a half-filled bed. So, here's the finished raised bed:
The cost was around $180 total (not counting the mulch) - $90 for the timbers and about $90 for the soil including delivery.
I should note here that this soil is not sufficient to grow healthy vegetables; although it is nice and black, it is not very loamy, so there will have work to be done enriching it with compost and vegetable matter.
What I like about this setup is that you can sit on the edge of the bed while doing your weeding or other garden work. Another good thing is that this is actually a huge bed; if you are into square foot gardening, this bed will give you sixty four (64) squares. You can feed a family on 64 squares!
All in all, the project turned out very nice and worthy. Considering that you could build a humongous raised garden bed with soil for $180, it is certainly a thing to consider.
My mother moved to a new place and was eager to start a garden. The problem with her property is that it looks like it's located on the beach, there is nothing but white sand, and what's worse, there is no suitable vegetation to build compost from. So, we had to make a raised garden bed for her.
Being a senior citizen on a budget, she only had so much money to spend on that venture, so we had to be creative. After reviewing a multitude of options, mostly comparing by longevity and cost, we settled on a plan that involved landscape timbers. Granted, these are treated, but because in today's day and age that treatment is not as deadly as it was two decades ago, we decided that it was OK to use these, besides, there is only a small surface of dirt that would be immediately contacting the treated part.
She wanted a large garden bed, so we purchased fifteen (15) landscape timbers, 8 foot length each. Stacked three timbers high, these gave her a nine (9) inch of height and four by sixteen (4x16) perimeter. The timbers are held together with eight inch stakes that look like huge nails. They have them next to the timbers at Lowes or Home Depot. Here's a close-up of the raised garden bed structure:
I should note here that this soil is not sufficient to grow healthy vegetables; although it is nice and black, it is not very loamy, so there will have work to be done enriching it with compost and vegetable matter.
What I like about this setup is that you can sit on the edge of the bed while doing your weeding or other garden work. Another good thing is that this is actually a huge bed; if you are into square foot gardening, this bed will give you sixty four (64) squares. You can feed a family on 64 squares!
All in all, the project turned out very nice and worthy. Considering that you could build a humongous raised garden bed with soil for $180, it is certainly a thing to consider.
June 13, 2012
How to Grow Amaranth Greens in Florida
We all can agree that growing greens in Florida’s summer is no easy feat. Last year I tried growing baby bok choy in the shade, as well as trying different forage type greens, such as sweet potato leaves and cow pea leaves in my salads. While they worked OK, something was still missing. And that something was in a realm of a regular salad type green. So, this year I am trying something different.
True to the seed company promise, amaranth survived and is doing quite well. I only planted a few plants, but have been snipping the leaves for the salad for about two months now. Lately we have been suffering some excruciating temperatures, but amaranth stood to the challenge.
The only problem with it is that it is quite difficult to start from seed. As usual, I start my seeds in nursery containers, and noticed that with this plant it is not easy when it comes to to achieving good consistent germination. The seedlings themselves look (and behave) quite weak for a few weeks, but when transplanted to the garden they do take off strong. I also tried to seed amaranth greens directly into the soil, but cannot attest to the success of that method because I mixed up replanting of the transplants and direct seed in the same bed. I think it would be better still to start it in nursery containers. All in all, it is a worthy green to try. It is somewhat dry and tough, compared, let’s say to romaine lettuce, but as we know, everything dies in our gardens in the summer, so a plant that keeps providing a harvest during the hot days is a winner no matter what. It tastes kind of like spinach, not a very strong taste, which is a good thing. I usually just chop it up in fine strips and make it a base for my salad. My verdict – thumbs up for that unusual vegetable, leaf amaranth green.
You can grow greens indoors in the summer. Click the image to learn more...


Enter a new type of leafy vegetable: Amaranth Green.
I ordered the seeds from Bountiful Gardens because they offer all open-pollinated, non-GMO, heirloom seeds. The description for the amaranth, that is leaf amaranth, not the grain type, was that it loves heat and loves moisture. OK, heat is no problem in June and beyond, and moisture I can reasonably provide. Granted, we had a lot of rain lately, so moisture was supplied by nature.True to the seed company promise, amaranth survived and is doing quite well. I only planted a few plants, but have been snipping the leaves for the salad for about two months now. Lately we have been suffering some excruciating temperatures, but amaranth stood to the challenge.
| Amaranth Greens |
The only problem with it is that it is quite difficult to start from seed. As usual, I start my seeds in nursery containers, and noticed that with this plant it is not easy when it comes to to achieving good consistent germination. The seedlings themselves look (and behave) quite weak for a few weeks, but when transplanted to the garden they do take off strong. I also tried to seed amaranth greens directly into the soil, but cannot attest to the success of that method because I mixed up replanting of the transplants and direct seed in the same bed. I think it would be better still to start it in nursery containers. All in all, it is a worthy green to try. It is somewhat dry and tough, compared, let’s say to romaine lettuce, but as we know, everything dies in our gardens in the summer, so a plant that keeps providing a harvest during the hot days is a winner no matter what. It tastes kind of like spinach, not a very strong taste, which is a good thing. I usually just chop it up in fine strips and make it a base for my salad. My verdict – thumbs up for that unusual vegetable, leaf amaranth green.
You can grow greens indoors in the summer. Click the image to learn more...
You might also like these posts:
May 28, 2012
Grow Flax Seed in a Home Garden
My adventure with the small grains, namely Flax Seed and Barley finally came to fruition. I harvested both grains about two weeks ago. I did not have the time to properly process Barley, so it all went to the chickens (who loved it!), but did process the Flax Seeds. It turned out to be a rather easy process. To harvest I simply pulled the whole plants and put them into the garden cart. I imagine, commercially they harvest just the seed heads with the machinery, but I cut or pulled the seed heads by hand and literally separated seeds from the shaft. The shaft is very useful in itself, our ancestors used it to make linen. But I will use it in compost, or even possibly as straw mulch.
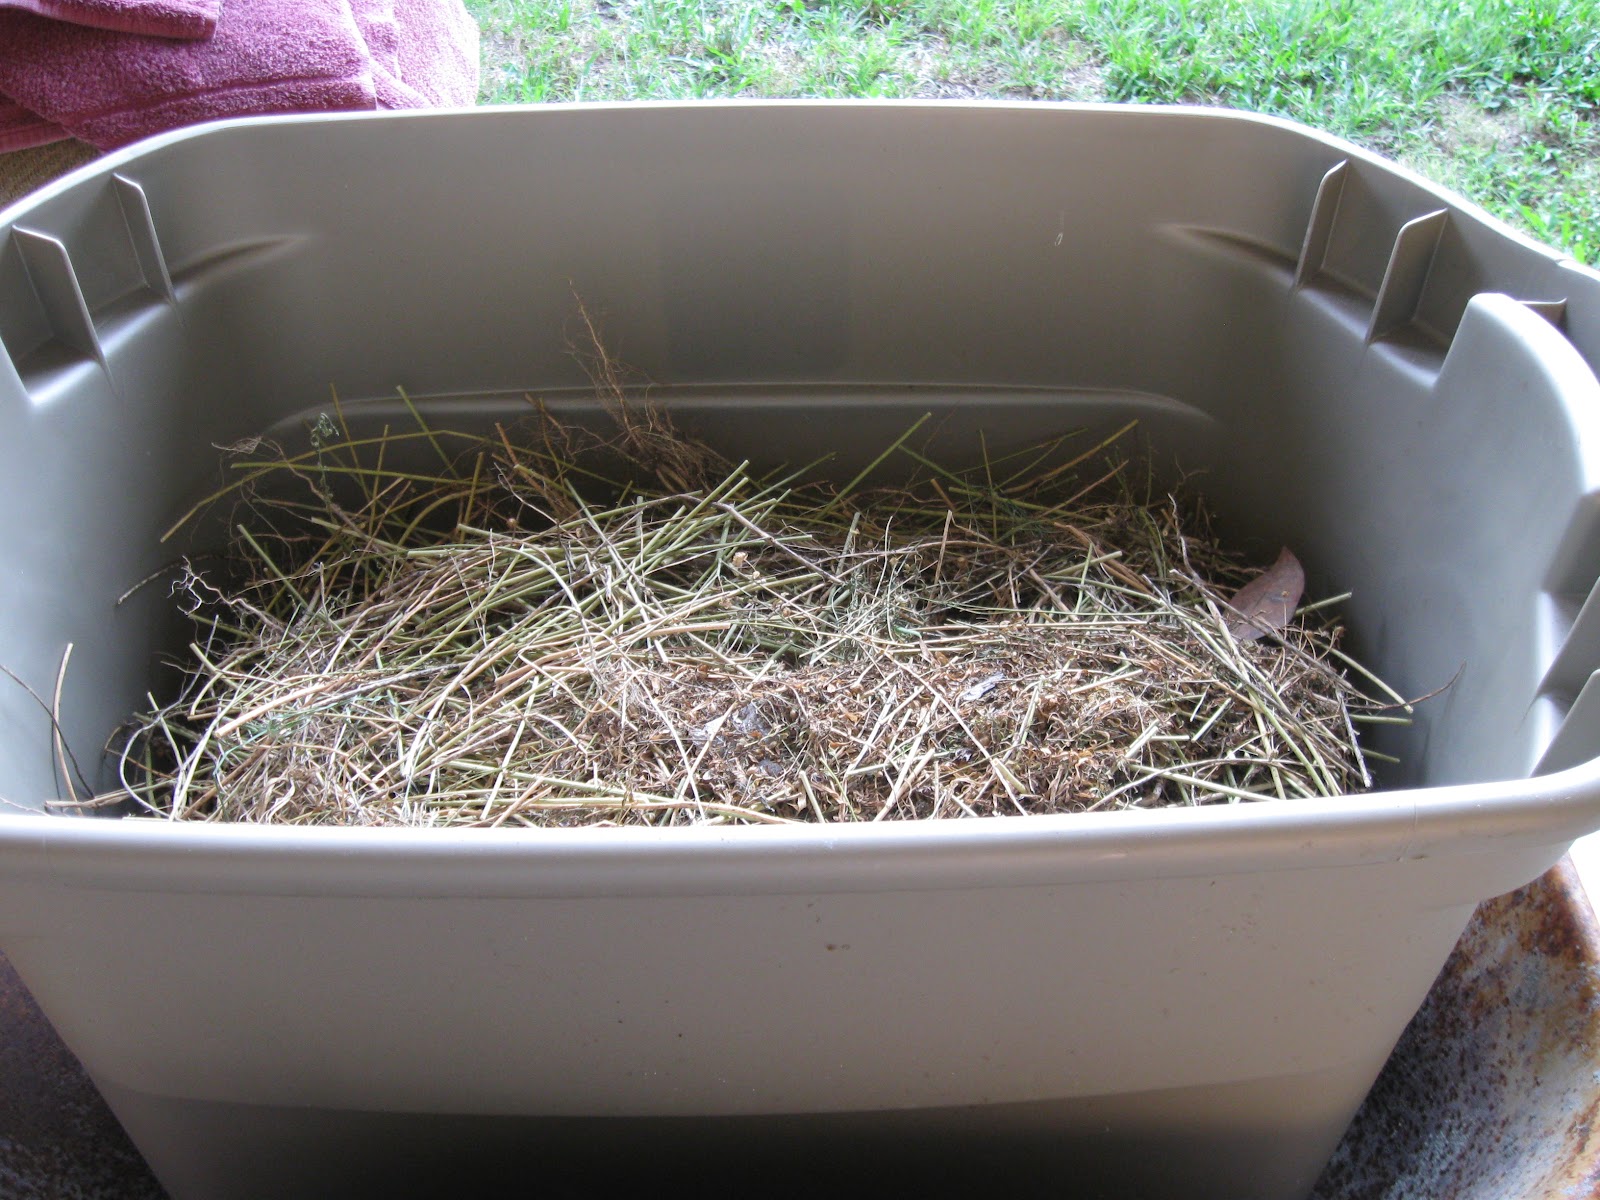
The seed heads need to dry crisp before threshing, so I let these sit outside in the shade for a couple of weeks.
After the seeds were very dry, I just rubbed the seed heads between my palms so that the seed itself was separated from the surrounding seed head. The process was quite easy. Then I sifted this mess several times through a regular colander until most of the debris was gone.
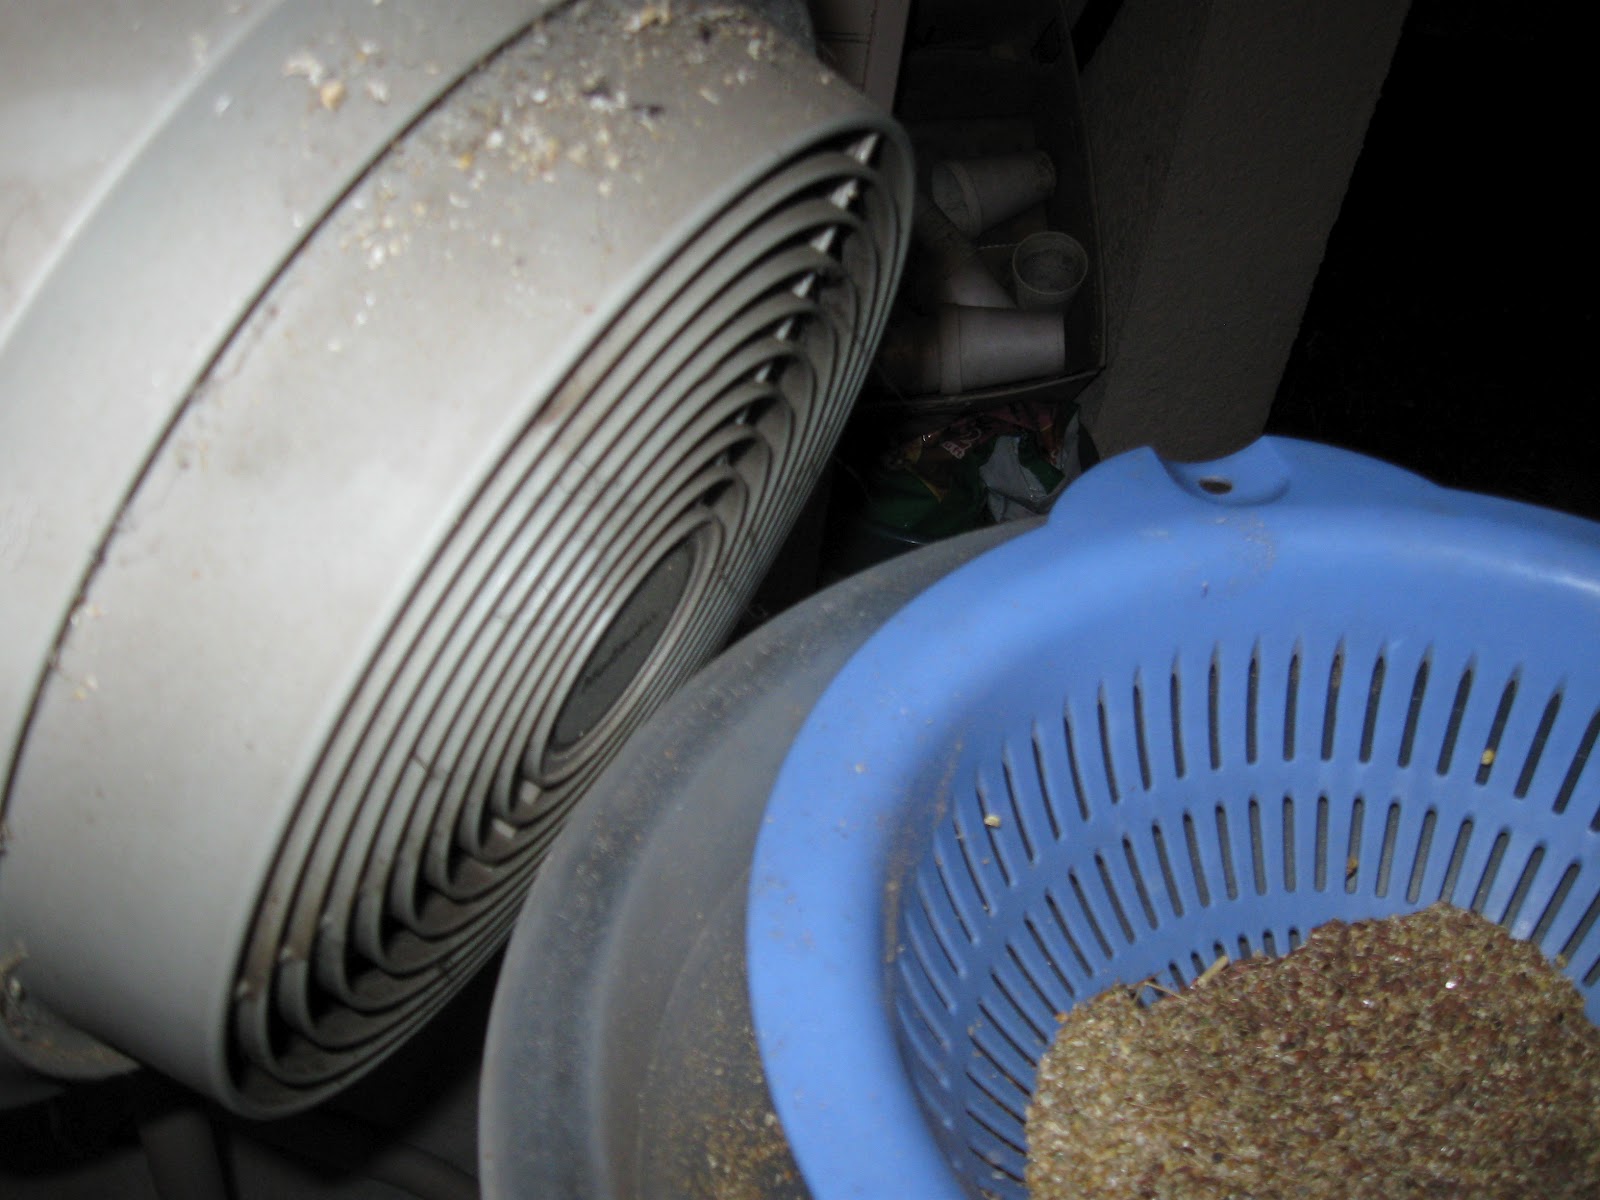
Last few sifts involved a fan (do this outside!) to sift the seeds at a height of approximately twelve inches from the lower bowl so that the light-weight debris can be blown away and the heavier seeds remain.
And here is the final product! These flax seeds certainly do not look as clean as when you buy them in the store, but they are certainly useful and very nice.
All in all, my yield was about 1:20. I seeded two tablespoons of the flax seeds and harvested almost a quarter a pound. This venture is certainly worth trying, and I plan to seed these (now free seeds) in October or when it gets cooler, to harvest in the following Spring.
The seed heads need to dry crisp before threshing, so I let these sit outside in the shade for a couple of weeks.
After the seeds were very dry, I just rubbed the seed heads between my palms so that the seed itself was separated from the surrounding seed head. The process was quite easy. Then I sifted this mess several times through a regular colander until most of the debris was gone.
Last few sifts involved a fan (do this outside!) to sift the seeds at a height of approximately twelve inches from the lower bowl so that the light-weight debris can be blown away and the heavier seeds remain.
And here is the final product! These flax seeds certainly do not look as clean as when you buy them in the store, but they are certainly useful and very nice.
All in all, my yield was about 1:20. I seeded two tablespoons of the flax seeds and harvested almost a quarter a pound. This venture is certainly worth trying, and I plan to seed these (now free seeds) in October or when it gets cooler, to harvest in the following Spring.
You might also like:
Grow organic mushrooms at a fraction of the cost (By Mushrooms4You)
How to start growing flax seed and barley in Florida
Grow organic mushrooms at a fraction of the cost (By Mushrooms4You)
How to start growing flax seed and barley in Florida
May 26, 2012
Shredding garden waste for compost: wood chipper, lawn mower, or else?
I have to admit, I spent quite some time researching the options of shredding my garden waste for composting, such as tomato, corn, okra, and other plants, as well as weeds, and the good stuff - your cover crops. Surprisingly, in this day and age of seemingly everyone growing a garden, there is very poor choice of garden waste processing machinery. I hate even saying "garden waste" as these spent plants are an awesome source of future nutrients and humus for the garden.
Anyway, it looks like we have two choices: a wood chipper and a mulching lawn mover. That's it. A reasonably priced wood chipper - under $1,000 - is still not an adequate choice! Most of these have a limitation of material thickness, up to 2 inches in diameter. Well, my corn stalks are at about that thickness, and okra plants can run even thicker. But even if we upgrade and go with the unit that chips 3 inches, we are still limited by "no green" restriction. These chippers are designed to handle twigs, not plants from the garden. Even if you pull a tomato plant, it would be kind of dry on the bottom, but green on the top. So, the wood chipper, unless it's a Fargo kind (which will run several thousand dollars), is not adequate, so, save your money.
A second choice is to get a mulching lawn mover at a price tag of $300 - $500 and run it over a pile of spent garden plants. This is much better than a chipper because it does not have size limitations, but to run it efficiently for this purpose the blade has to be frequently sharpened. Sharpening the blade involves taking out the spark plugs, then unscrewing the blade, and sharpening it with the hand file or some power tool. Then, putting the mower back together. Excuse me, I am a female. Not that I am afraid of power tools, but the process sounds too involved for what I am willing to do.
Accidentally, I stumbled upon another choice. This choice does not require electricity, gasoline, or any complicated maintenance. And, it accepts basically any thickness or green range of garden waste. Enter Felco. It is a hand pruner, and at a $55 price tag was a reasonable choice for my needs.
It is made in Sweeden, not in China, so I imagine it will last a long time. It is incredibly sharp and very easy to operate. I harvested the last of the tomatoes from ten to twelve plants, pulled up the cages, and shredded the tomato plants to fill this five gallon bucket in two hours total. It is amazing that a whole mess of tomato plants that would normally take several cubic feet by volume if not shredded, took only this little bit of space in a five gallon bucket.
Anyway, it looks like we have two choices: a wood chipper and a mulching lawn mover. That's it. A reasonably priced wood chipper - under $1,000 - is still not an adequate choice! Most of these have a limitation of material thickness, up to 2 inches in diameter. Well, my corn stalks are at about that thickness, and okra plants can run even thicker. But even if we upgrade and go with the unit that chips 3 inches, we are still limited by "no green" restriction. These chippers are designed to handle twigs, not plants from the garden. Even if you pull a tomato plant, it would be kind of dry on the bottom, but green on the top. So, the wood chipper, unless it's a Fargo kind (which will run several thousand dollars), is not adequate, so, save your money.
A second choice is to get a mulching lawn mover at a price tag of $300 - $500 and run it over a pile of spent garden plants. This is much better than a chipper because it does not have size limitations, but to run it efficiently for this purpose the blade has to be frequently sharpened. Sharpening the blade involves taking out the spark plugs, then unscrewing the blade, and sharpening it with the hand file or some power tool. Then, putting the mower back together. Excuse me, I am a female. Not that I am afraid of power tools, but the process sounds too involved for what I am willing to do.
Accidentally, I stumbled upon another choice. This choice does not require electricity, gasoline, or any complicated maintenance. And, it accepts basically any thickness or green range of garden waste. Enter Felco. It is a hand pruner, and at a $55 price tag was a reasonable choice for my needs.
I cut the plants into chunks of about two inches long. This would be sufficient to throw into the compost pile to speed up decomposting, or even use this mass as mulch (which is what I did, mulched around my cubanelle peppers). I researched quite a bit on a brand and make, and settled on this tool because it had some outstanding reviews on Amazon
, plus, the shipping was free. The only thing I wish it had - some kind of harness, so I could carry it with me at all times: that's how much I love this little tool!
You might also like these posts:
May 20, 2012
May Activities in Florida Garden
Whew! Somebody aircondition Florida, please! It has been an extremely hot spring.
At the end of May we usually finish harvesting spring season vegetables and put our garden tools away till September, for the most part. Even harvesting becomes a chore because it is too hot to go to the garden and pick tomatoes. I let quite a bit of tomatoes to fall to the ground, luckily, chickens picked them up. I sometimes let the chickens into the garden at the end of the harvest season to clean up.
Now it's a good time to preserve the harvest. I usually just can crushed tomatoes. It's the easiest way and the end product is very versatile. Tomatoes are pretty easy to can. Because they are acidic, you can use water bath method, no pressure canning required.
If you planted tomatoes in succession, you might still have quite a bit of green tomatoes in the garden; these will continue to ripen till July. This year I want to try growing tomatoes over the summer, in complete shade. This might or might not work, time will tell, but it's a worthy experiment.
Other than that, cowpeas and okra are Florida gardener's best friend. They love heat and pretty non-demanding. Plus, both can be used as a great compost builder.
You might also like these posts:
Types of tomatoes: determinate or indeterminate?
How to replant tomato seedlings
Sturdy tomato cages, 10 Pack - free shipping
At the end of May we usually finish harvesting spring season vegetables and put our garden tools away till September, for the most part. Even harvesting becomes a chore because it is too hot to go to the garden and pick tomatoes. I let quite a bit of tomatoes to fall to the ground, luckily, chickens picked them up. I sometimes let the chickens into the garden at the end of the harvest season to clean up.
Now it's a good time to preserve the harvest. I usually just can crushed tomatoes. It's the easiest way and the end product is very versatile. Tomatoes are pretty easy to can. Because they are acidic, you can use water bath method, no pressure canning required.
If you planted tomatoes in succession, you might still have quite a bit of green tomatoes in the garden; these will continue to ripen till July. This year I want to try growing tomatoes over the summer, in complete shade. This might or might not work, time will tell, but it's a worthy experiment.
Other than that, cowpeas and okra are Florida gardener's best friend. They love heat and pretty non-demanding. Plus, both can be used as a great compost builder.
You might also like these posts:
Types of tomatoes: determinate or indeterminate?
How to replant tomato seedlings
Sturdy tomato cages, 10 Pack - free shipping
May 1, 2012
Holy cow, cabbage in Florida
Ferry-Morse seeds did it again! Who could have thought that we could grow nice firm heads of cabbage in our Florida heat, and harvest them in May! But, stranger things have happened. Harvested this baby today, and it weight at over three pounds of organic fresh cabbage:
Now, these seeds are not open-pollinated, they are hybrids, most likely, so even if I was adventurous enough to save the seeds, they would not perform the same as their parent. But for a paltry $1.59 (and I only seeded maybe a third of the package, if that), I would harvest probably 30-40 pounds of cabbage, if not more. This variety, just like any type of cabbage, needs moist conditions, so I have to give it some water every day. It also is susceptible to snails, but they do not do a lot of damage. Some leaves, mostly the outer ones, would be chewed up, and these go into the compost or to the chickens. There is still a lot of fresh organic cabbage left for the humans. I would certainly plant this variety again, in the fall, as cabbage is not afraid of freezes.
I planted these seeds somewhere around the end of January, and started harvesting cabbage about two weeks ago, so kind of close to what the package said (66 days to maturity).
Now, these seeds are not open-pollinated, they are hybrids, most likely, so even if I was adventurous enough to save the seeds, they would not perform the same as their parent. But for a paltry $1.59 (and I only seeded maybe a third of the package, if that), I would harvest probably 30-40 pounds of cabbage, if not more. This variety, just like any type of cabbage, needs moist conditions, so I have to give it some water every day. It also is susceptible to snails, but they do not do a lot of damage. Some leaves, mostly the outer ones, would be chewed up, and these go into the compost or to the chickens. There is still a lot of fresh organic cabbage left for the humans. I would certainly plant this variety again, in the fall, as cabbage is not afraid of freezes.
Subscribe to:
Posts (Atom)